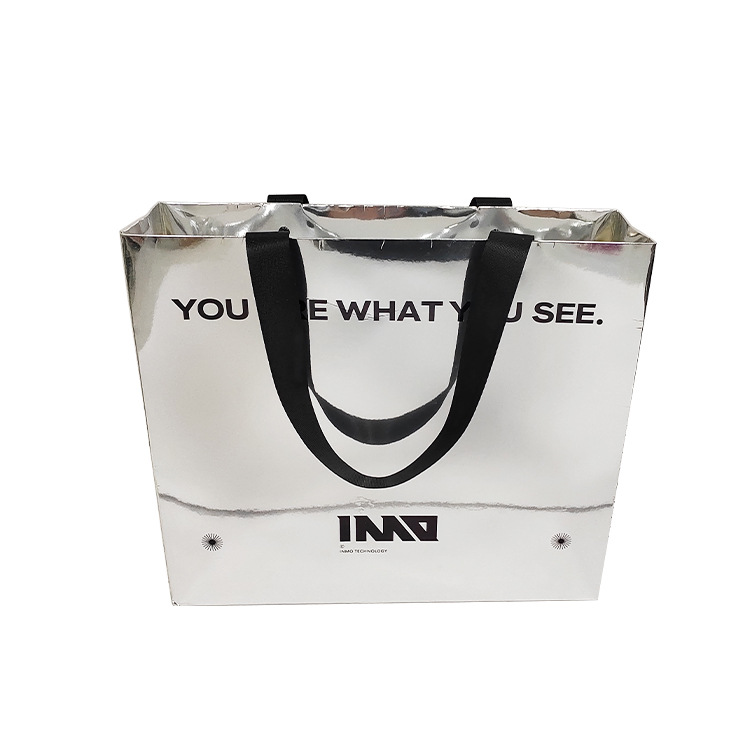
What are the key points of making a portable paper bag?
2024-06-19
Making a portable paper bag involves several key steps and considerations to ensure that the bag is functional, durable, and aesthetically pleasing. Here are the key points to consider:
1. Materials:
- Paper Type: Choose a sturdy, high-quality paper such as kraft paper, which is durable and can withstand weight.
- Handles: Use strong materials for handles, such as twisted paper, ribbon, or cotton rope, to ensure they can support the bag's contents.
2. Design and Dimensions:
- Size: Determine the appropriate size based on the intended use (e.g., small for gifts, larger for groceries).
- Shape: Decide on the shape of the bag (e.g., rectangular, square, flat, or gusseted) based on the items it will carry.
3. Cutting and Folding:
- Cutting: Accurately cut the paper to the required dimensions for the front, back, sides, bottom, and any flaps.
- Folding: Fold the paper precisely along the designated lines to form the bag's structure. Use a bone folder or similar tool to create sharp creases.
4. Assembly:
- Gluing: Apply glue or double-sided tape along the edges to secure the sides, bottom, and any flaps together. Ensure the adhesive is strong and evenly applied.
- Reinforcements: Reinforce the bottom of the bag with an extra layer of paper or a cardboard insert for added strength.
5. Handles:
- Attachment: Attach the handles securely, ensuring they are evenly spaced and firmly fixed to the bag. Punch holes and tie knots or use adhesive to attach the handles.
- Reinforcement: Reinforce the handle area with extra paper or a grommet to prevent tearing under load.
6. Finishing Touches:
- Trimming: Trim any excess paper to ensure a neat and clean finish.
- Customization: Add any desired custom elements, such as branding, logos, or decorative designs, using stamps, stickers, or printed designs.
7. Testing:
- Load Test: Test the bag by carrying different weights to ensure it can handle the expected load without tearing or coming apart.
- Quality Check: Inspect the bag for any weak points or imperfections and make necessary adjustments.

### Step-by-Step Process
1. Measure and Cut:
- Measure and cut a piece of kraft paper according to the desired size of the bag. For example, a standard grocery bag might require a piece of paper around 16 x 22 inches.
2. Fold and Crease:
- Fold the paper in half vertically, creating a strong crease. This fold will form the sides of the bag.
- Unfold the paper and fold both edges towards the center crease, overlapping them slightly. Glue the overlap to create a cylinder.
3. Create the Bottom:
- Fold one end of the cylinder up by about 3 inches to form the bottom. Open this fold and flatten the corners to create triangular flaps.
- Fold the top and bottom edges of the flattened section towards the center and glue them together to seal the bottom.
4. Form the Sides:
- Fold the sides inward to create creases along the bag’s edges, forming a rectangular shape with defined sides.
5. Attach Handles:
- Punch holes near the top of the bag and insert the handles. Secure them with knots or glue.
By following these key points and steps, you can create a durable and portable paper bag suitable for various uses.


